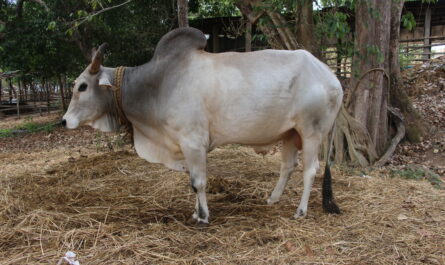
Do you know how to mark cattle? Ear tagging is very important, especially if you have a lot of cattle in your herd. It is an important part of animal identification.
Because if you are branding livestock, it will be very useful for you to easily identify the animal and keep records of it.
Eartags also help the herder track and record animal information such as age, weight, sex, time of last cow calving, number of calves, etc.
Proper tagging of livestock is very important to avoid infection or tag loss. Thus, you must understand the importance of placement, identification, precautions, and use of the tag applicator to properly tag a cow.
There are actually 3 important tools to use when applying an ear tag. And these 3 tools are the applicator, the hairpin and the button.
You can easily avoid complications if you know how to use these components correctly.
Tags are an important identification tool that can contain a variety of information and help farmers and ranchers in their farming operations.
How to Tag Livestock
Reducing head movement when tagging livestock ensures the tag is placed in the correct position.
Applicator control is also important and you need to know how to properly use and clean this tool.
It will be better if you learn to mark cattle from an experienced farmer. Hands-on learning will be better for you.
However, we describe the process in detail here so that you can easily tag cattle.
Provide Livestock
First, catch the cattle, secure them and limit their movements. You can use the head gate chute to secure the cow.
Limiting head movement is very important to ensure accurate mark position.
You can also apply tags shortly after birth (calf weaning). It takes less effort to tag a younger animal.
Location of beacons
The ideal place to place the marker is in the middle third of the ear (between the ridges of the ear cartilage).
Do not place cattle too close to the head. Because it will be too tight due to the thicker cartilage and may cause tissue necrosis and flaking.
Also, tags that are too far from the tip or bottom of the ear can pop out. Therefore, the correct placement of the tag is very important to reduce the risk of infection.
Prepare the applicator
Carefully prepare the applicator before use. Clean it carefully to reduce the risk of infection and clean it thoroughly after use.
Wipe the spindle and collet parts with rubbing alcohol or a disinfectant solution.
Also wipe the inside and outside of the cow’s ear with a cloth or cotton swab dipped in alcohol for added protection.
After thorough cleaning, load the label halves into the applicator.
Insert the pointed stud on the back of the visual panel over the long, thin stud.
Then insert the button or liner into the clip on the opposite arm of the applicator.
Before use, check that both parts are fully inserted and securely attached before proceeding.
Label request
Place the applicator on the mark. Hold the applicator with your dominant hand and gently stretch and smooth the cow’s ear with your other hand.
Then squeeze the handles together in one smooth motion. You will hear a loud click as the two tag halves connect.
Then release the handles and pull the applicator out once the tag is in place and ensure the pin and button are locked.
release the cow
After successful branding, try to keep the cow calm while the momentary discomfort subsides. And then release the cow. The newly attached tag should remain in place for several years.
Examine livestock
Over the next few days, inspect your cattle’s tag site for signs of infection. Any redness, swelling, or excessive discharge you see should be considered a serious problem.
You can also apply a disinfectant, such as rubbing alcohol or hydrogen peroxide, to prevent infection.
video


